Creating Custom Views
Creating Custom Views
#130
You can create your own views allowing you to navigate your Kubernetes environment and report on specific systems. Create views to see only those containers of interest. Save the view to help you and others quickly identify risk and waste for a subset of the environment.
Figure: Creating Custom Views
You can create custom views from the tree viewer or any table.
- From the tree viewer click
 to open the Manage Views dialog box.
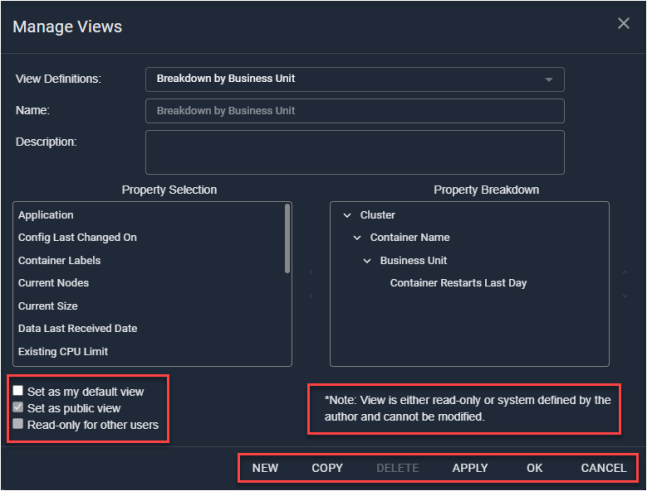
 - Click New or Copy.
- Enter the name and description of your new view.
- In the Property Selection list, select a property and then click > to add the property. Your selection appears in the Property Breakdown pane.
- Move the added property up or down to create the desired view.
- To remove a property, select it and press < to return it to the selection list.
- Select the options, as applicable:
- Set as my default view—This view will be selected each time you open Kubex.
- Set as public view—All users can use this view. If unchecked, then this view is set as private.
- Read-only for other users—All users can use this view, but cannot edit it.
- Click OK to save the view or Apply to save and apply the view.
You cannot modify an original system view or a public view, that is in use by other users.
Figure: Manage Views Dialog Box
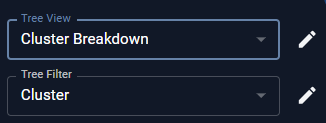
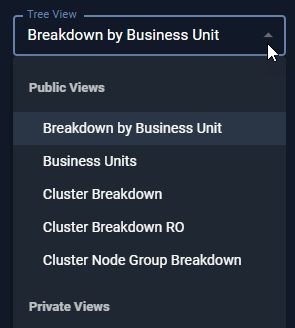
Your new view is now selectable from the Tree Viewer.
Figure: Manage Views Context Menu
To further limit the number of systems you can now create a filter for this view. See Creating Custom Filters.
A number of views are provided with Kubex to facilitate the selection of systems and to provide a template for creating new views.
Creating Views from a Table
You can also create a view from any table, using the columns to define your view:
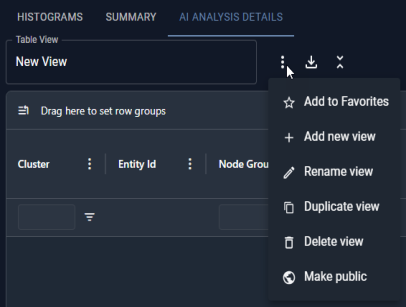
- From any page that includes a Table View field, click to open the context menu.
- Click + Add new view and enter a name for your view.
- Click on the column header and drag it to the header bar.
- Move the column around until you have the desired view.
Figure: Manage Views Context Menu